The cab was in pretty clean condition but the 80’s brown had to go. Plus over the years various equipment had been added/removed leaving a few holes. So, a decision was made to try and get the cab a bit more civilized.
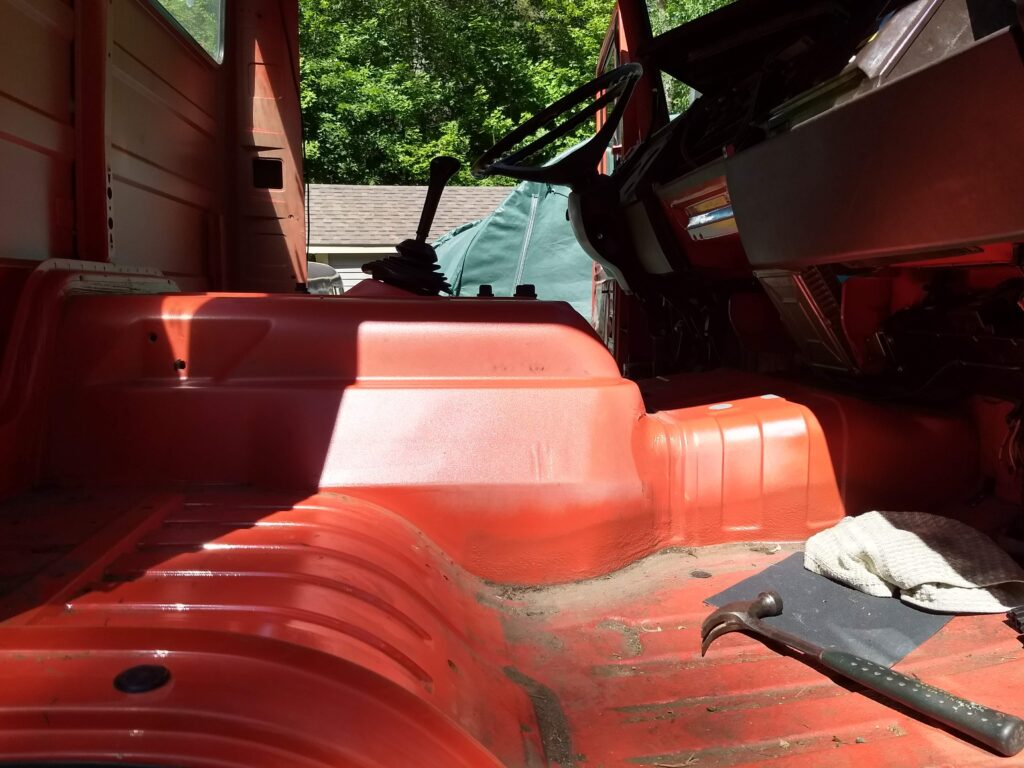
First step was to strip the cab, this actually did not take all that long. The truck was pretty rust free so a good starting point. Then give it a good cleaning.
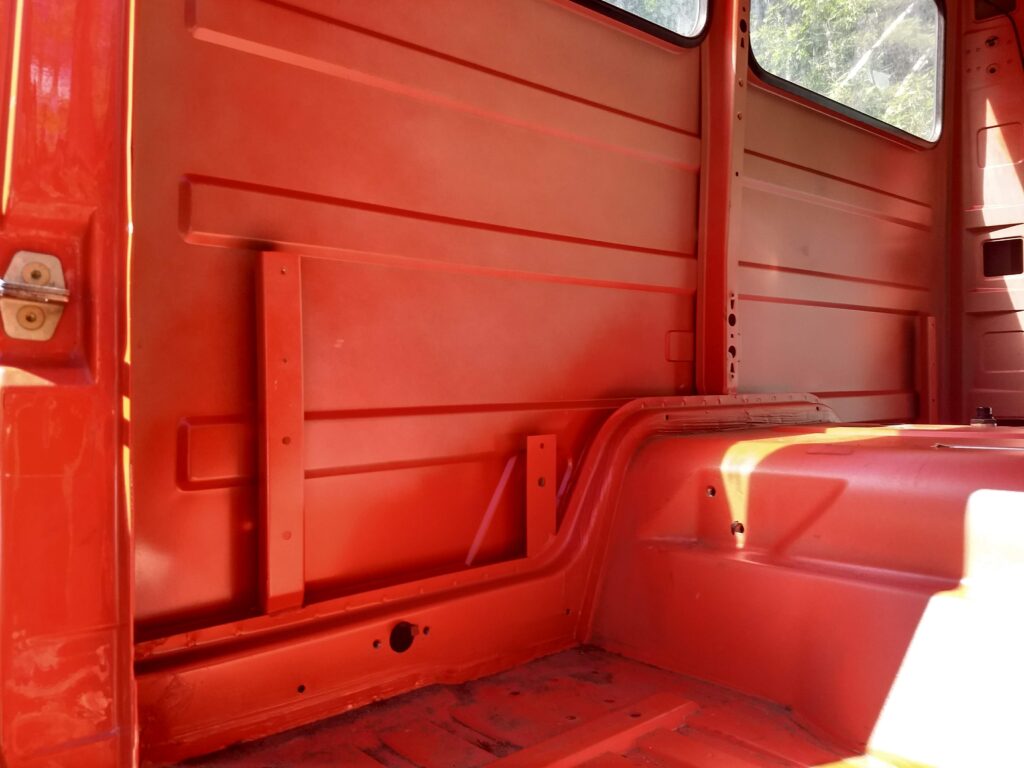
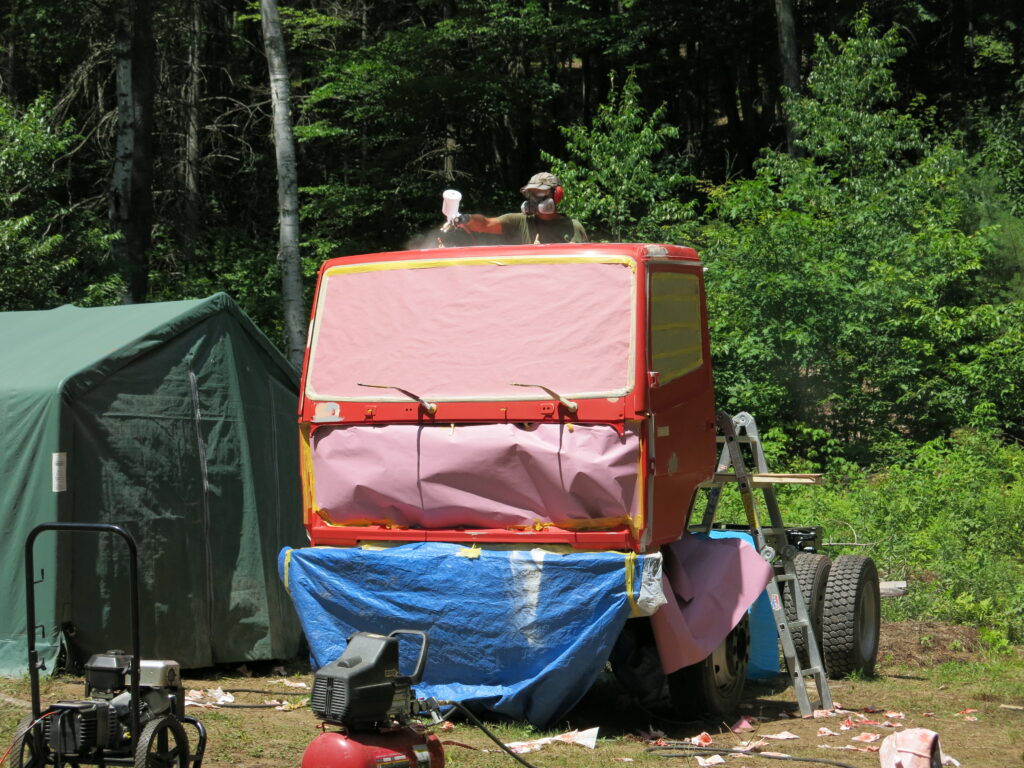
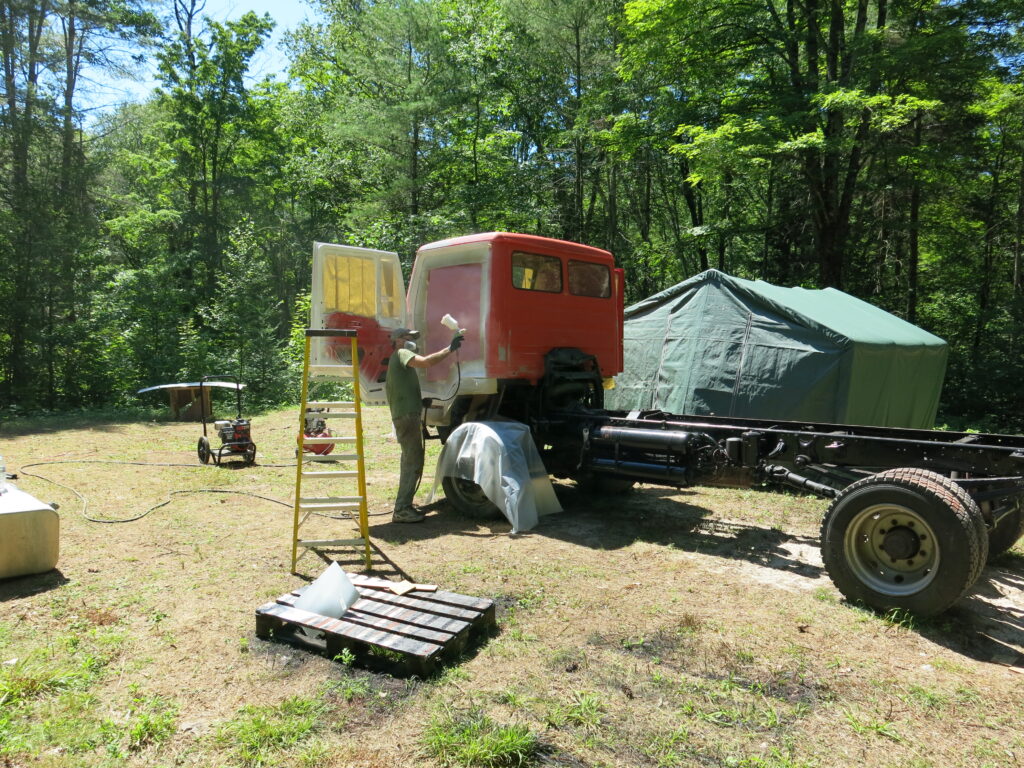
Since the truck was red and had a few extra holes (from the lights) we needed to do a bit of bodywork. I settled on using 3M panel adhesive to bond in some sheet metal from inside to fill the holes. At the same time I had made some steel discs to fill the actual hole. Seemed to work really well and avoided me warping the sheet metal trying to weld it. Next step was to prep and paint it “Traffic White”.
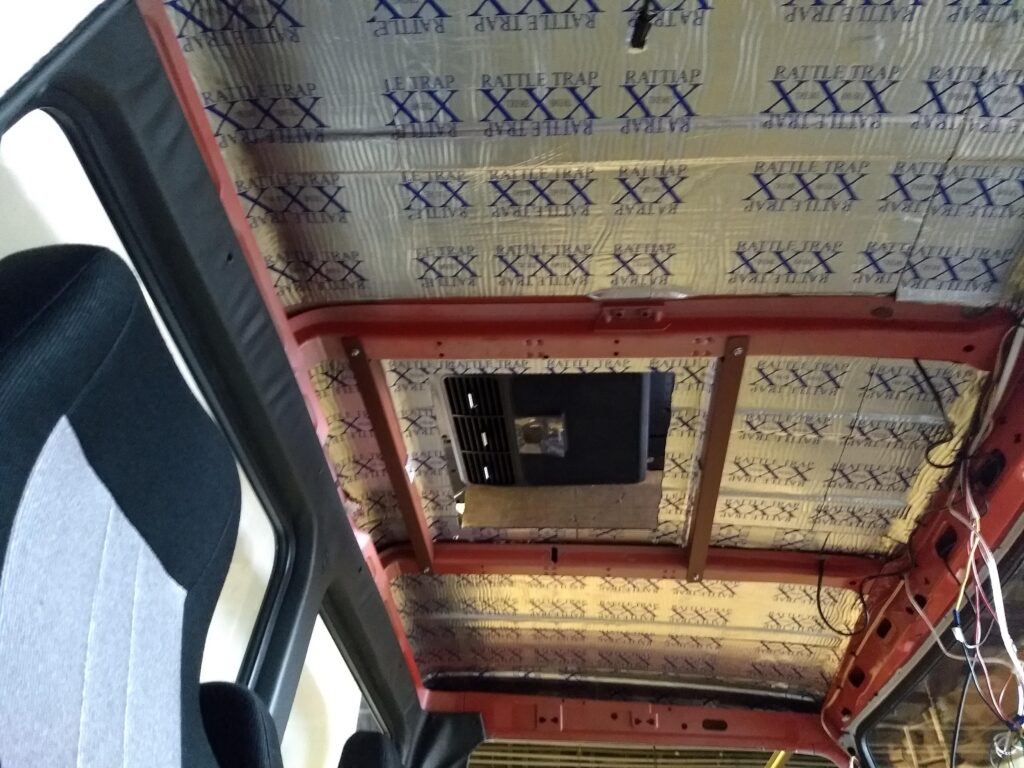
Then the time consuming task of installing the sound deadening. We ended up choosing a 100 square foot kit from FatMat. It went on well and seemed to stick and conform to the curves.
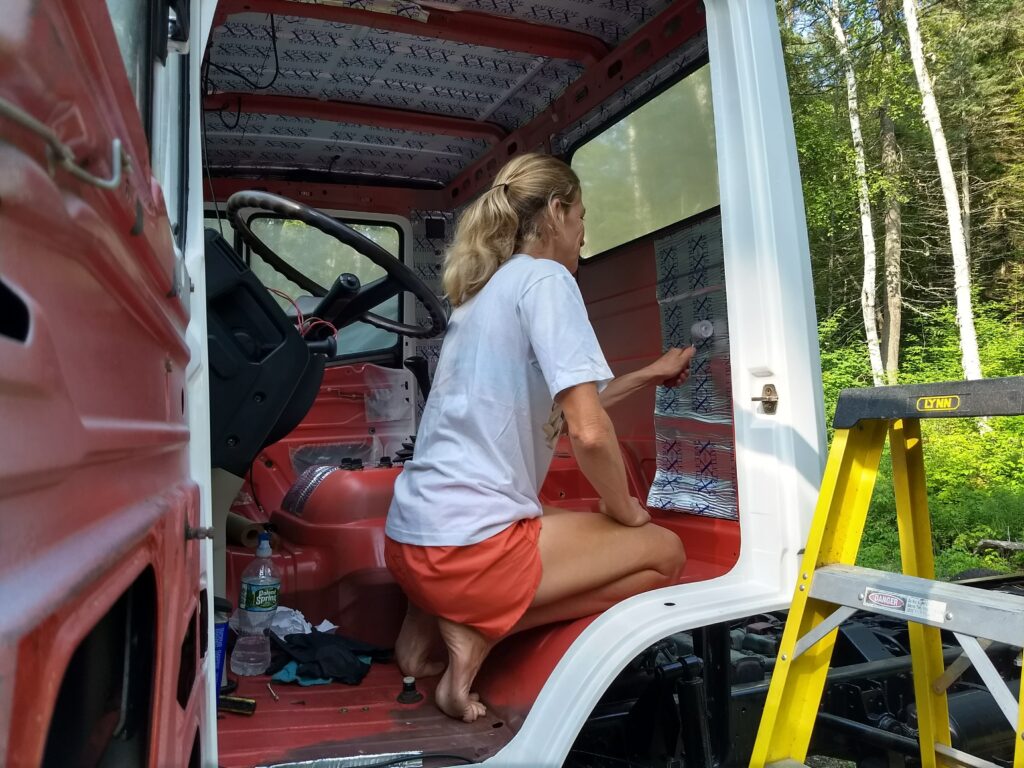
Using the roller to help with adhesion 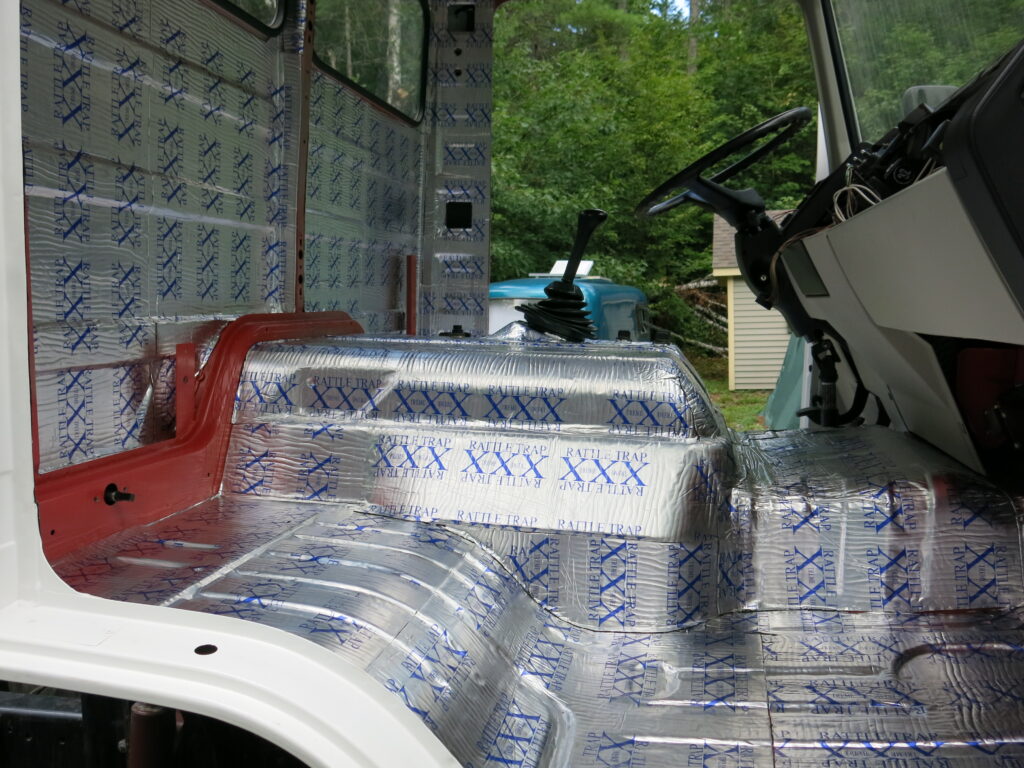
Fast forward a bunch of months. After a scorching summer in North Carolina we came to the conclusion that air conditioning in the truck cab was a necessity. Bouncing around the various options we finally settled on a roof top 24v DC unit. This made the install relatively simple compared to an engine dive compressor setup. It does require an alternator upgrade though. One problem though, these units are designed to fit an existing roof hatch opening and our truck does not have one. So we needed to cut a big hole in the roof.